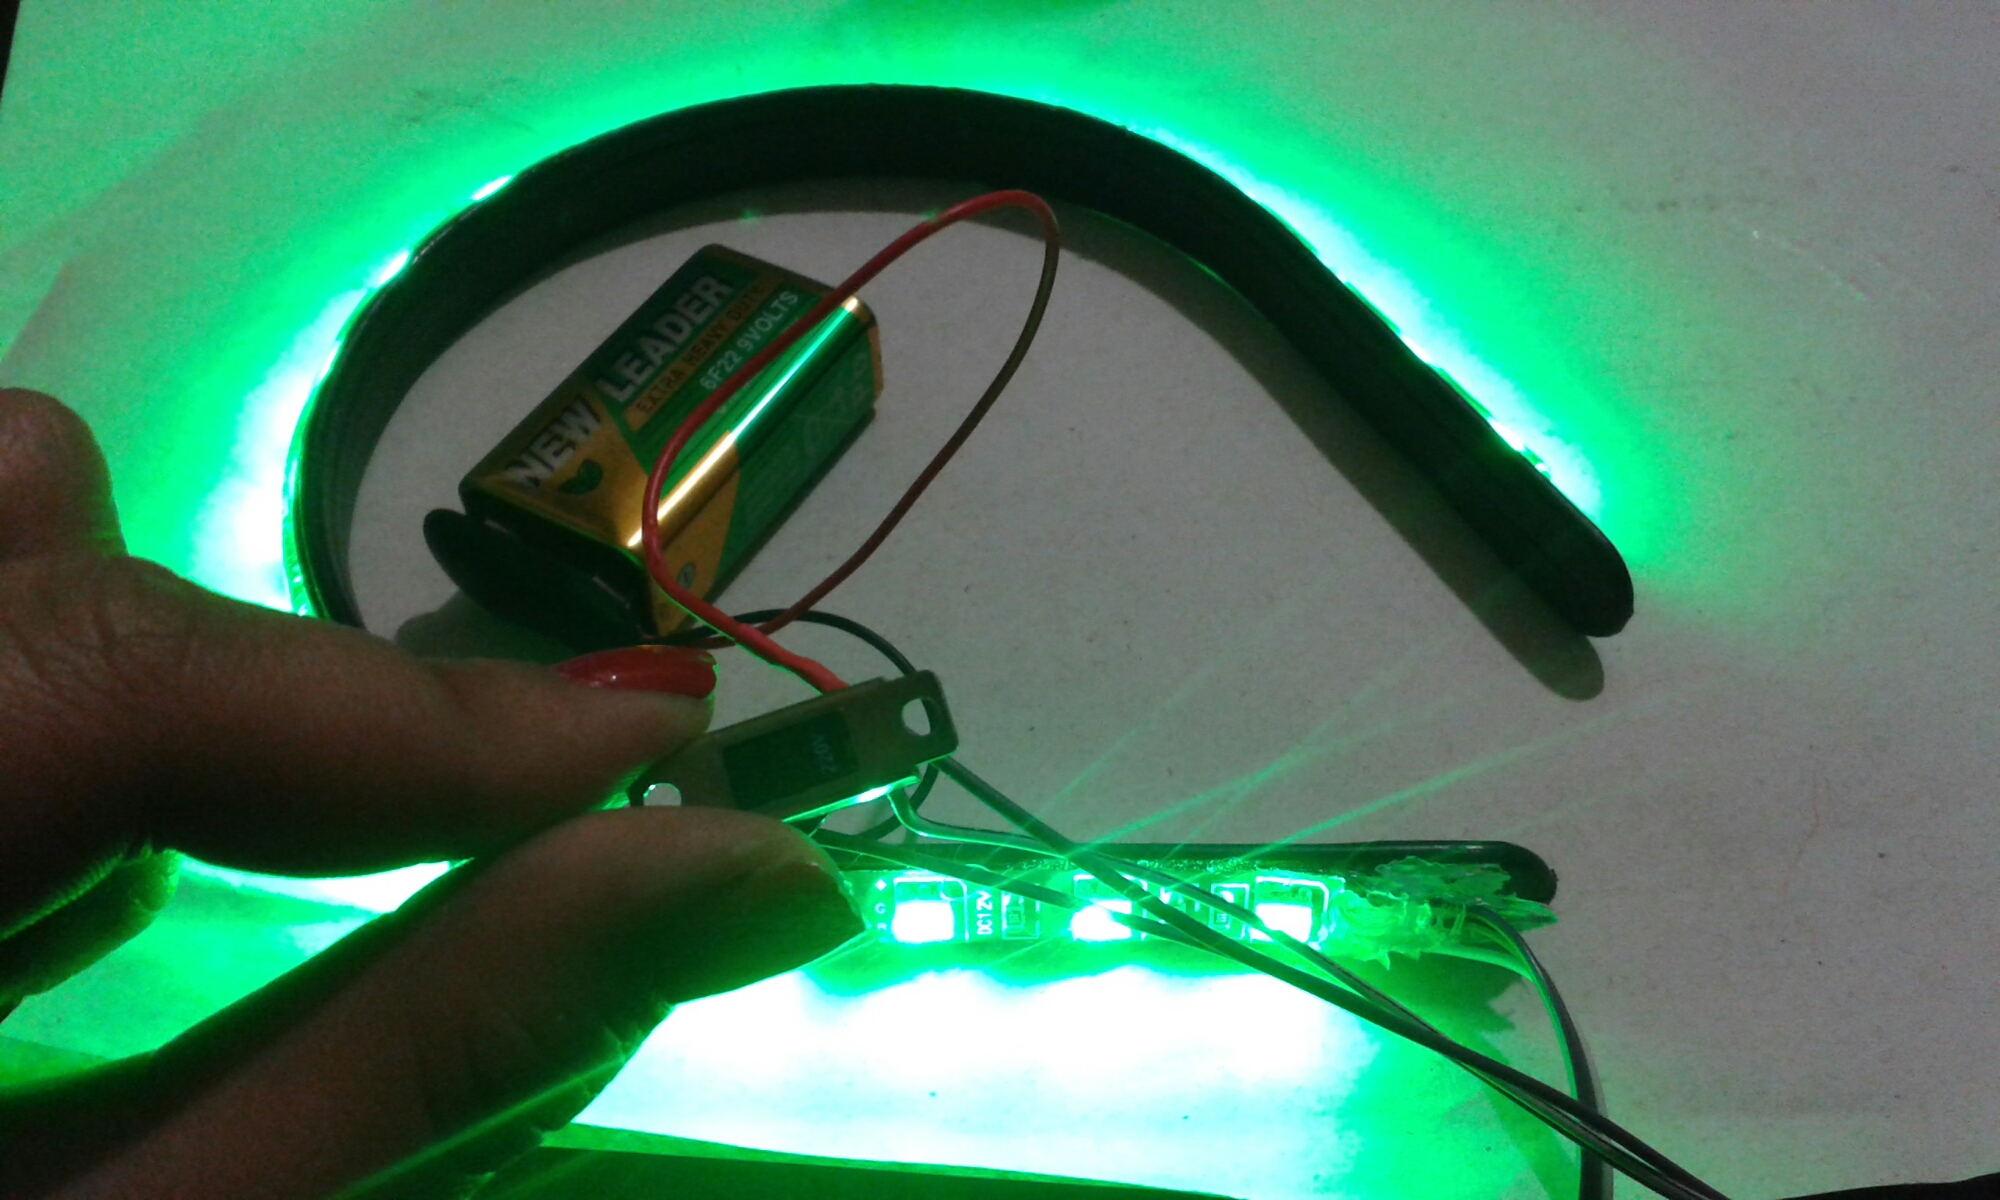
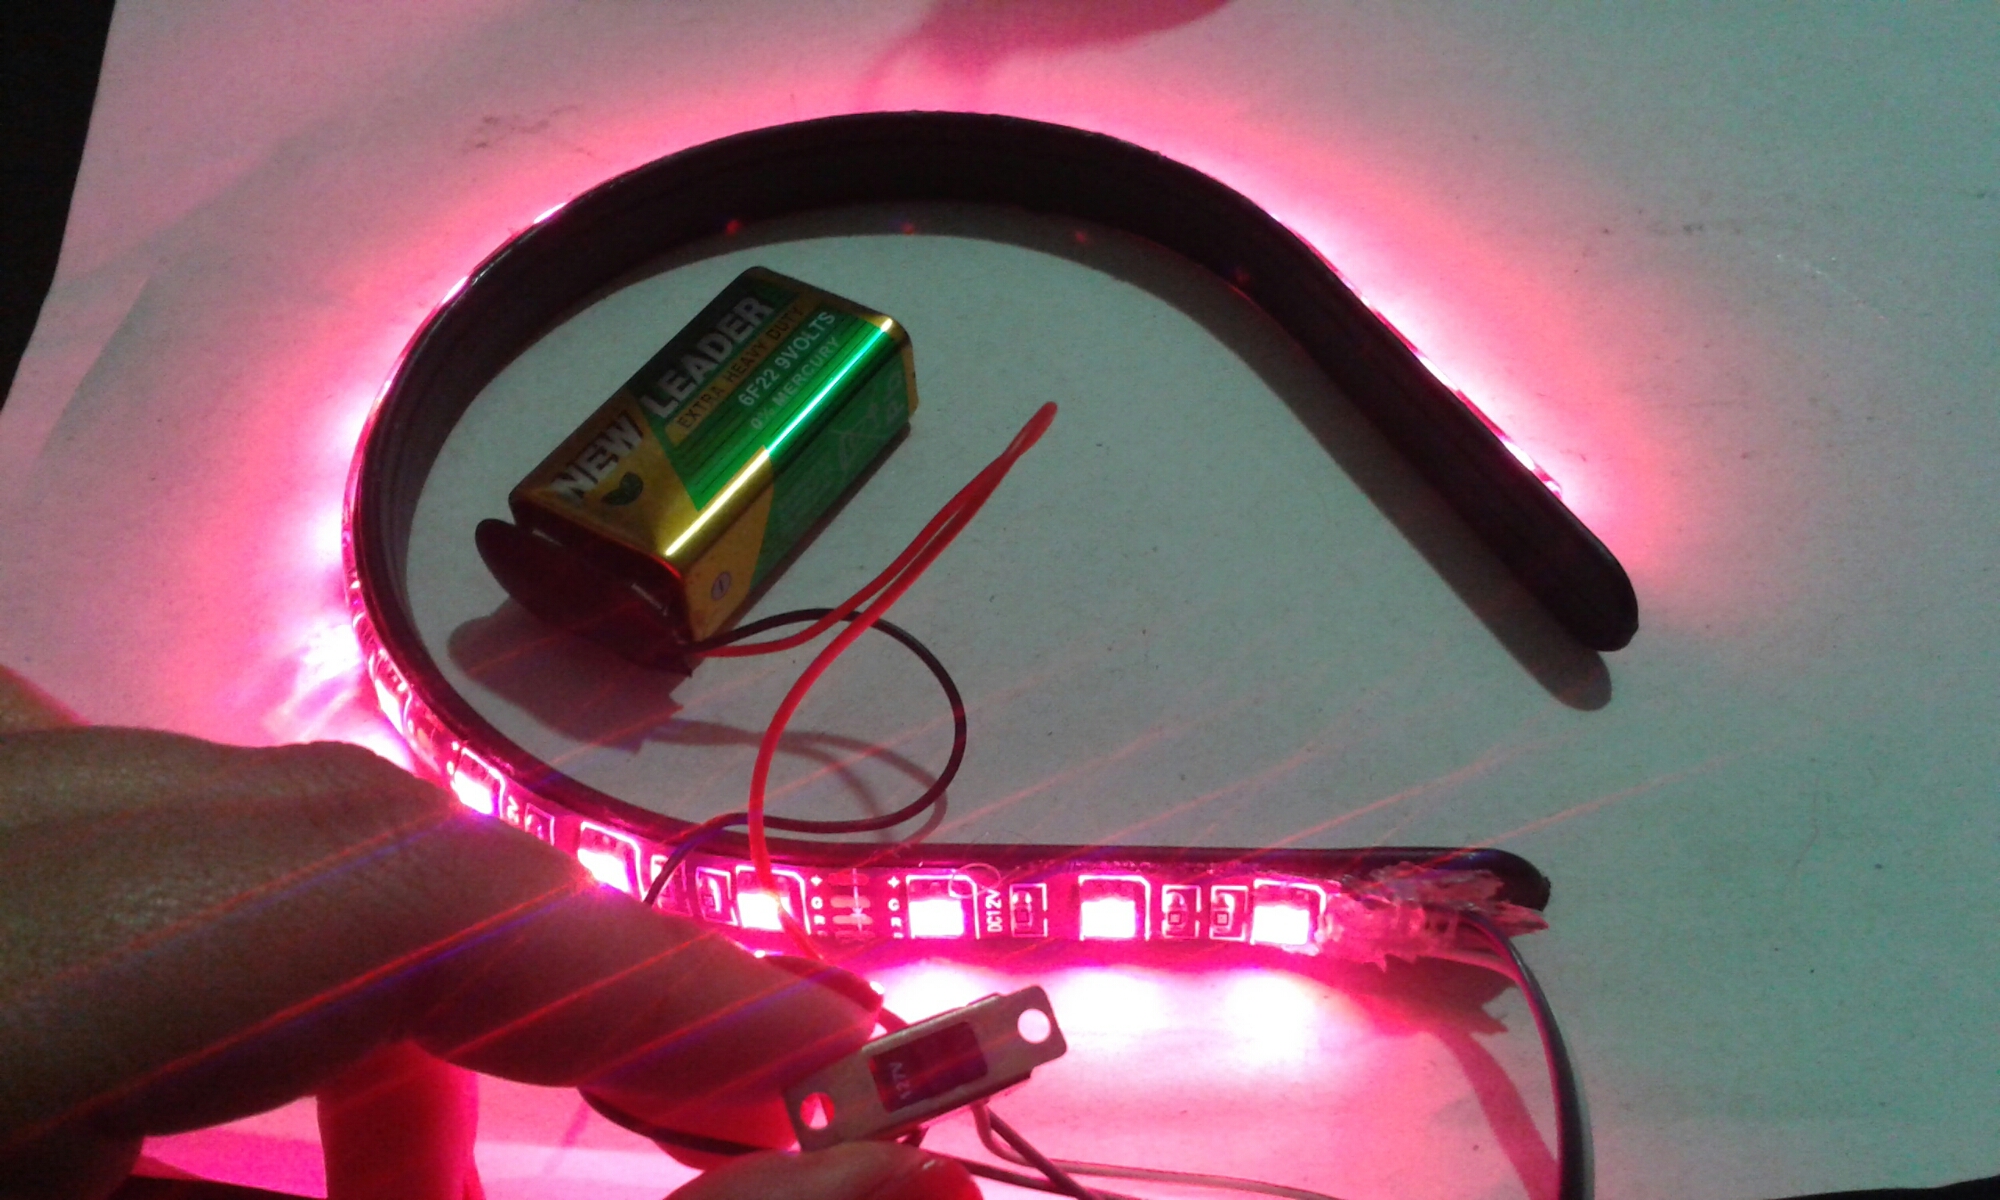
Geek Princess’s Tiara with LED RGB tape made with a button to choose the color.
You want to learn to do? Come on…
You will need:
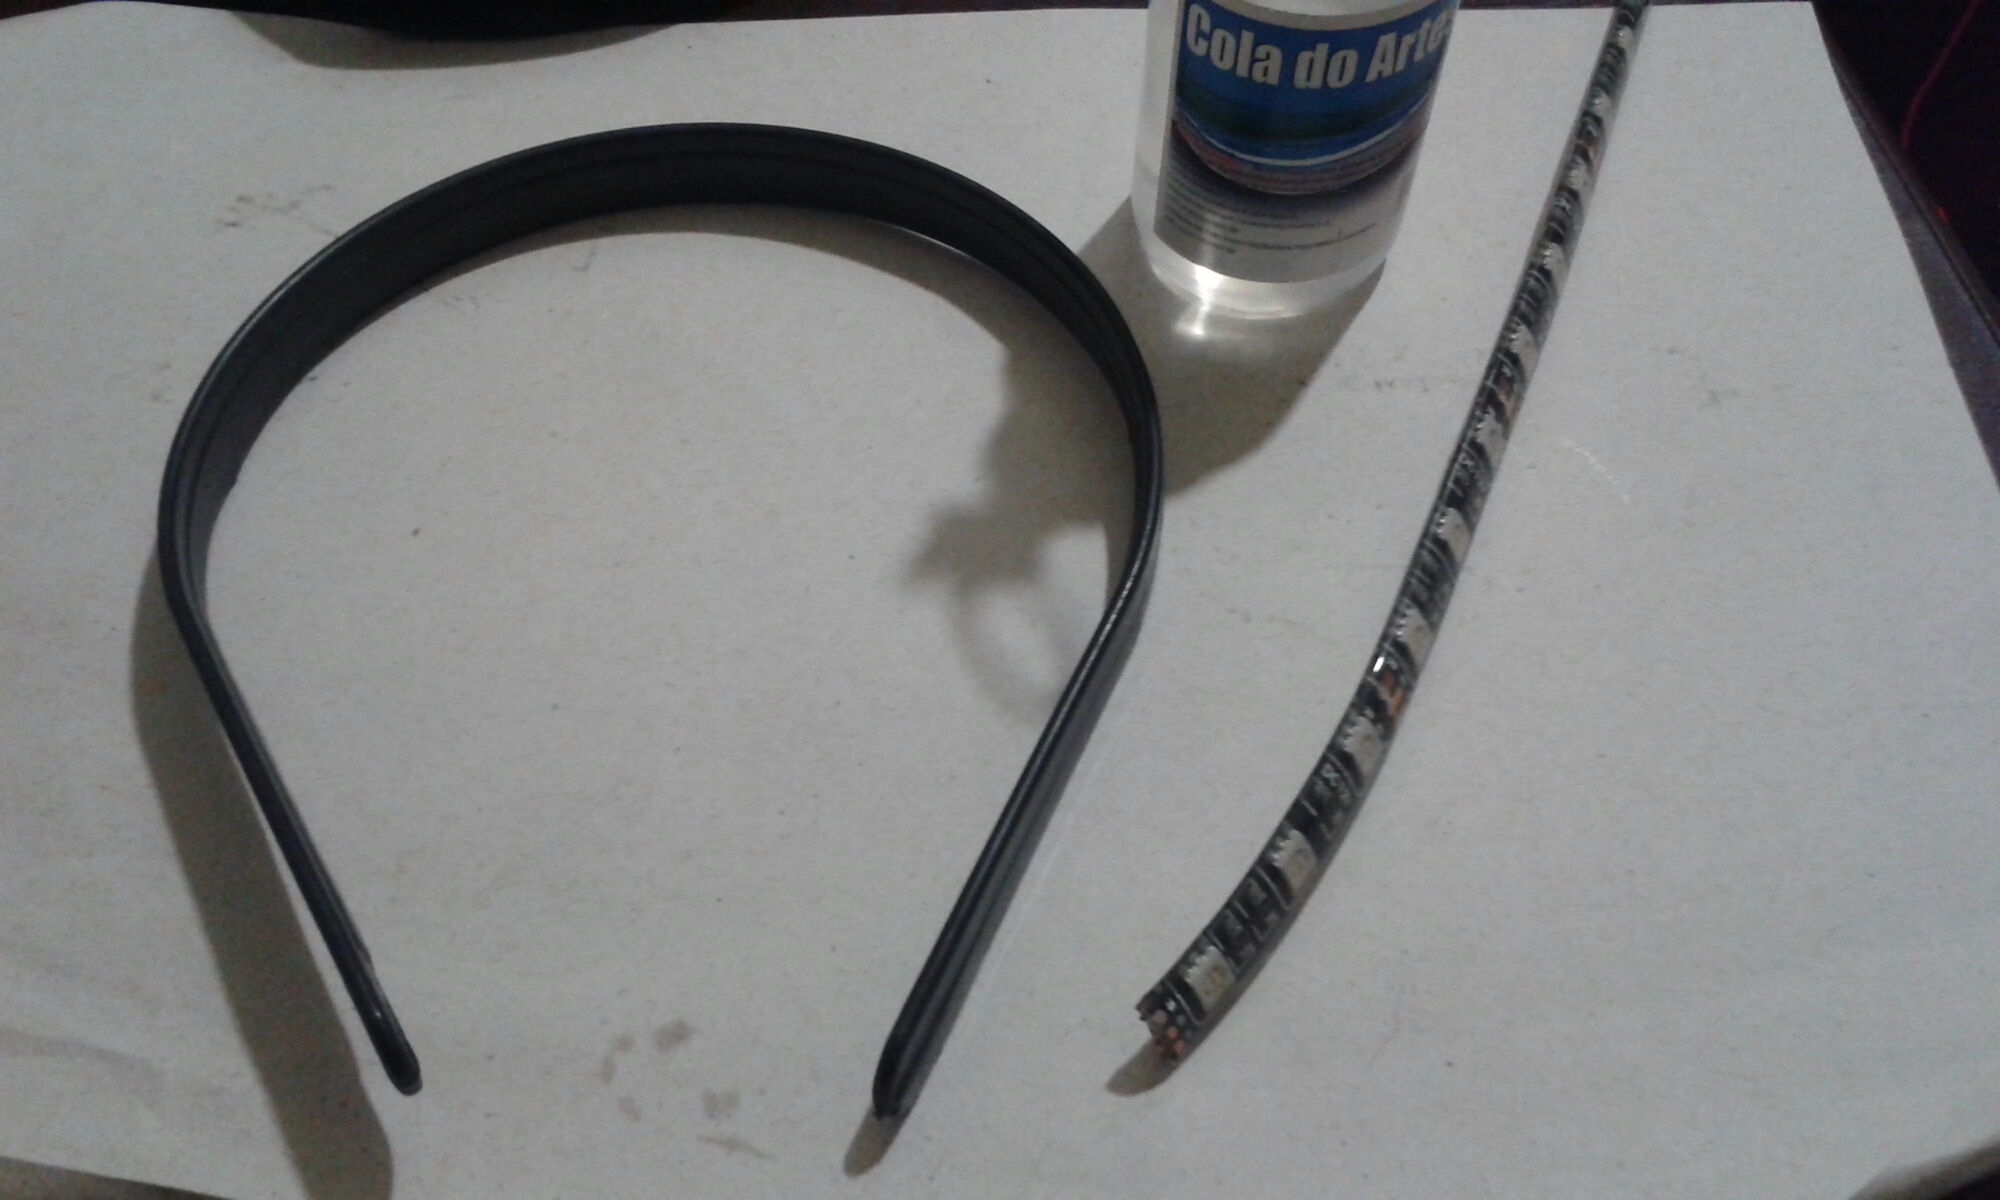
– LED Strip (RGB or white you choose)
– Plain Tiara without props
– Flex
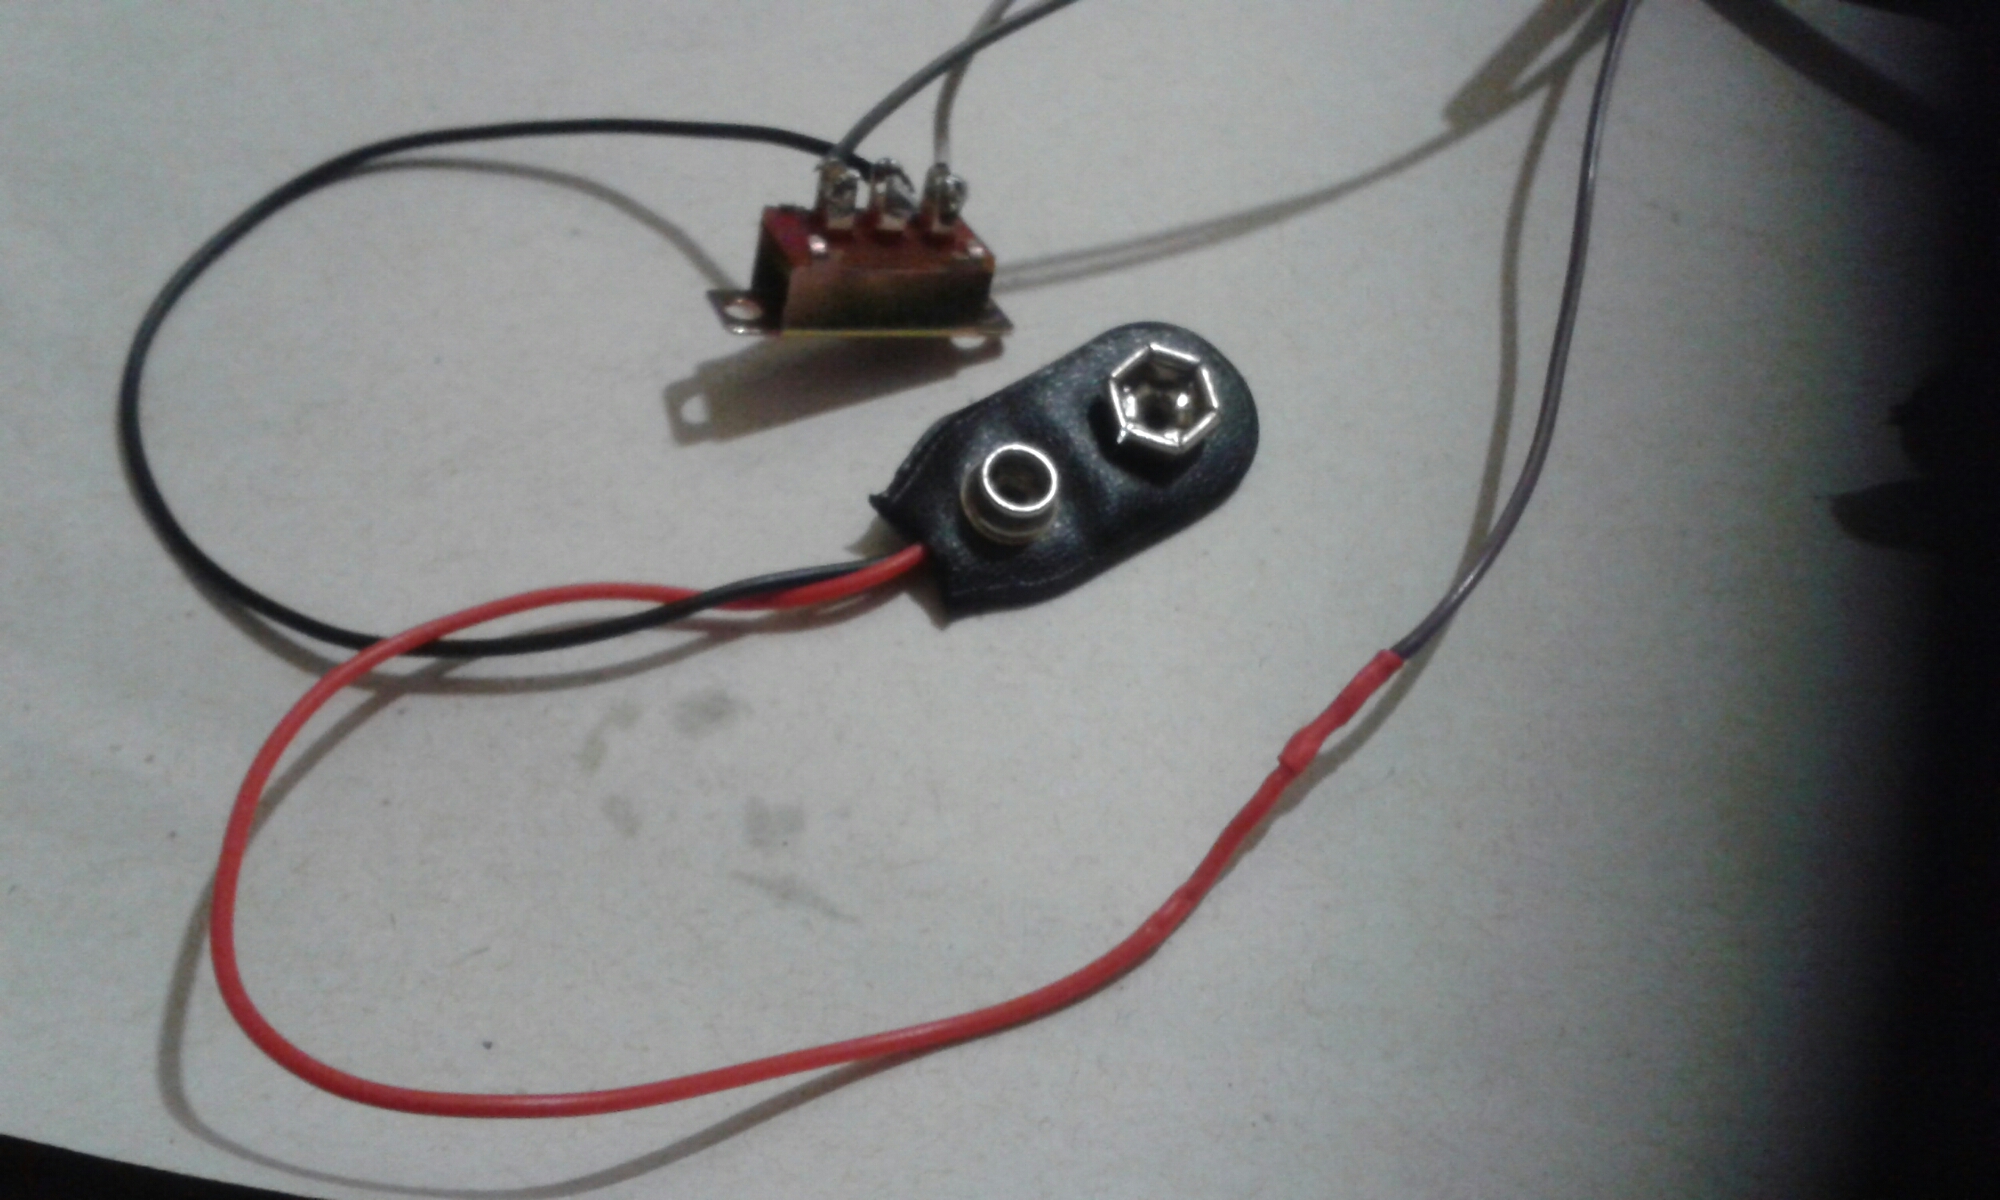
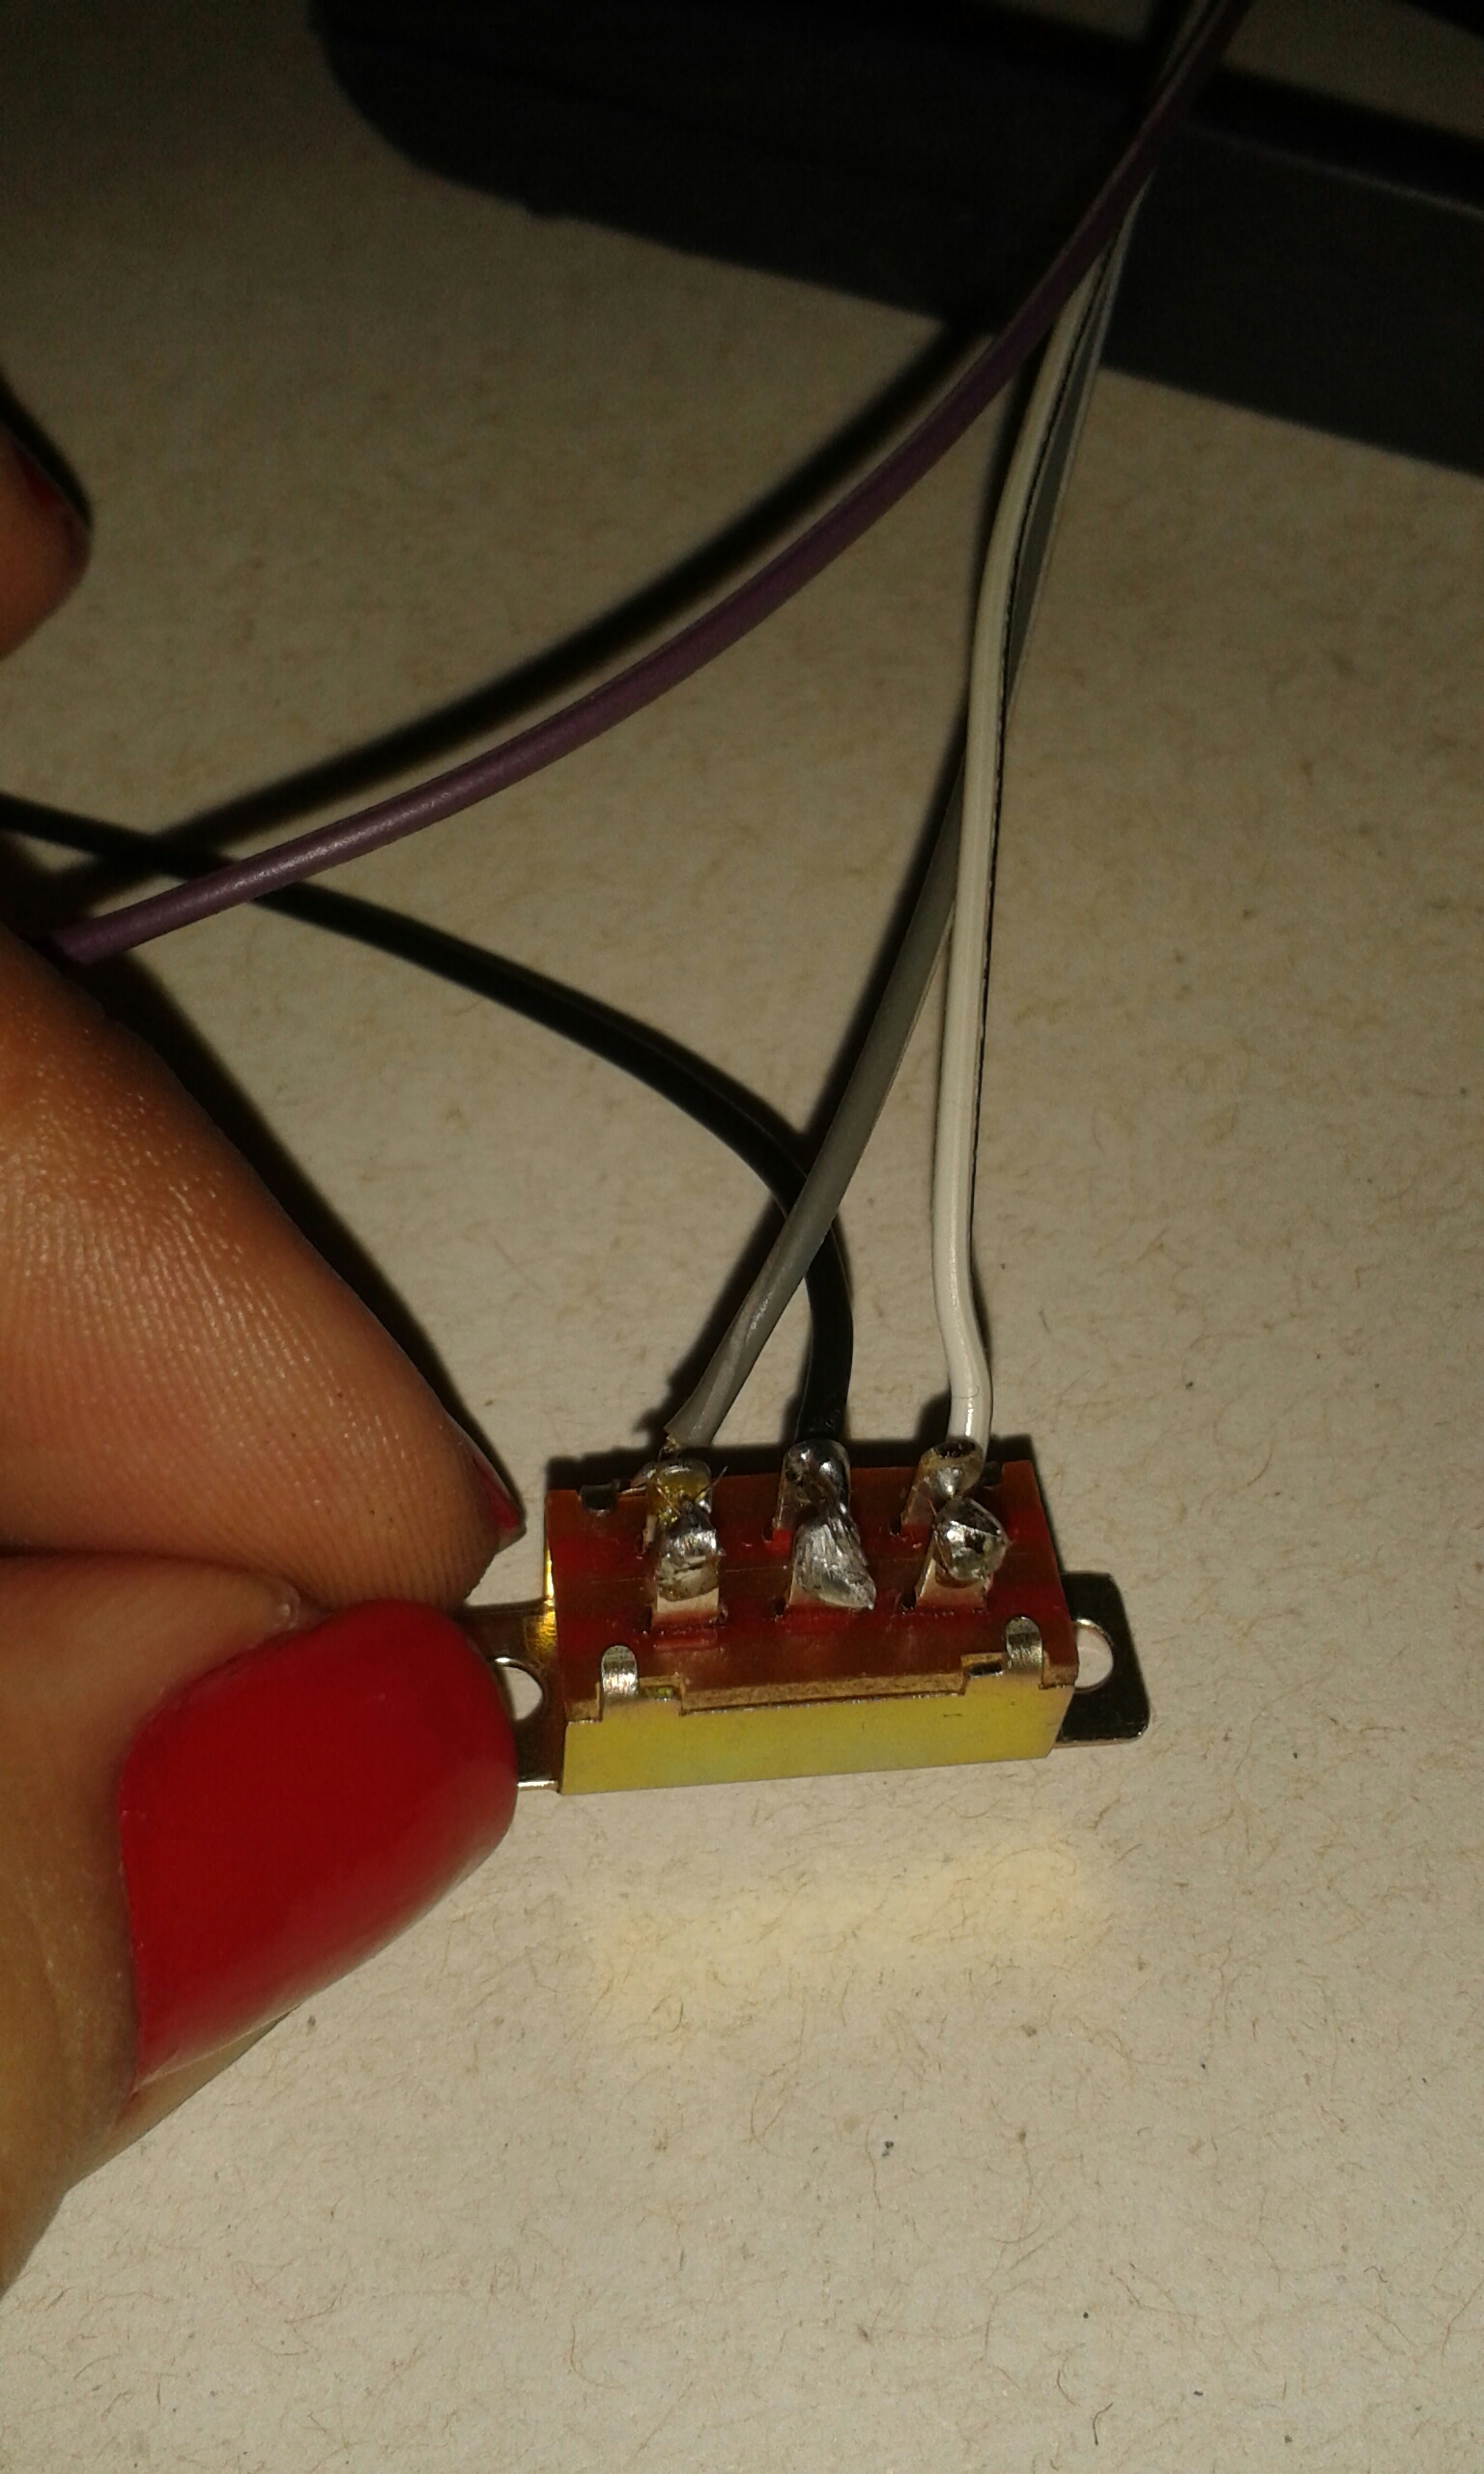
– Button with three terminals
– Cola artisan (vinyl acetate and methanol)
– Socket for battery 9V
– Soldering iron
– Tin
– Battery 9V
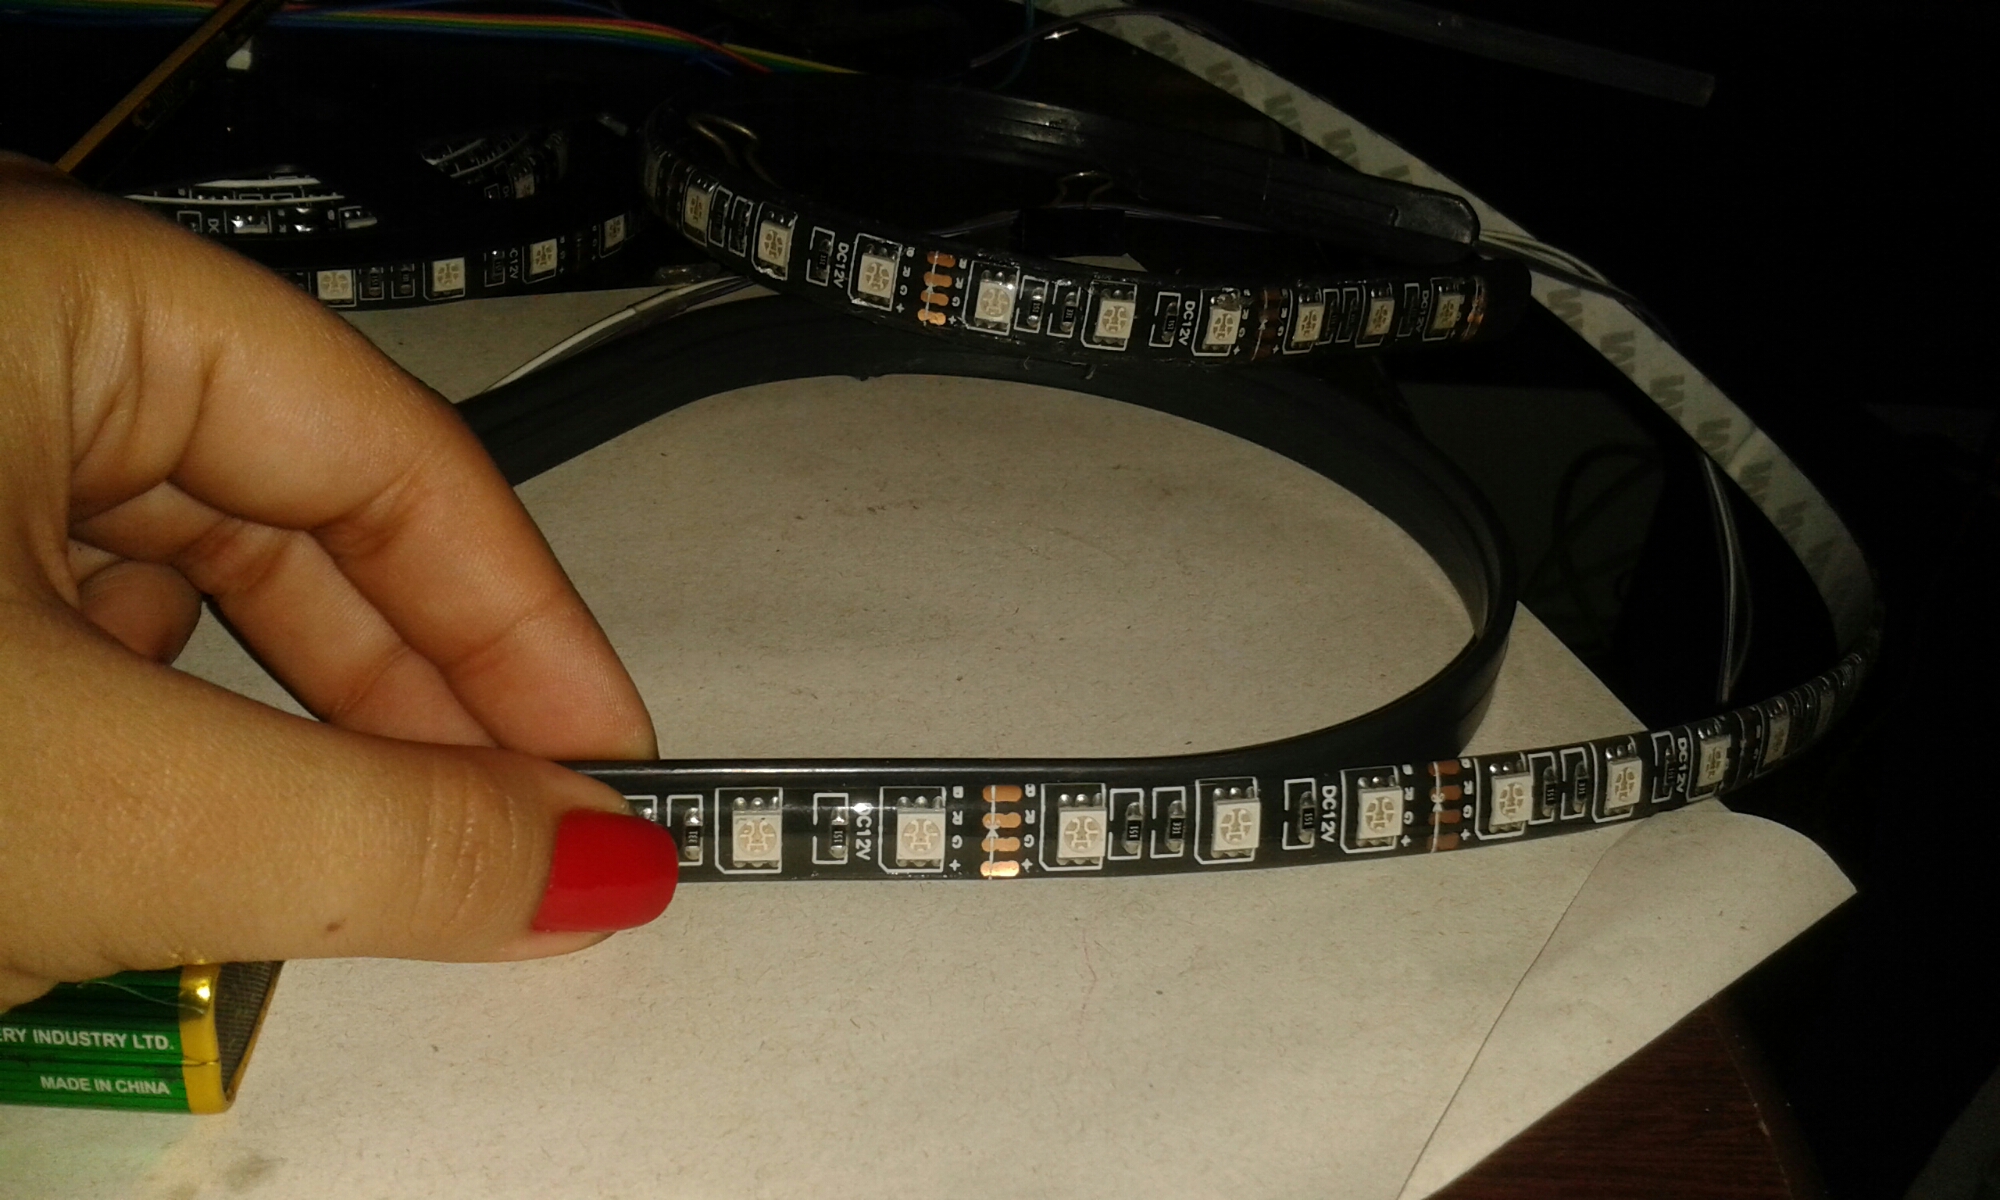
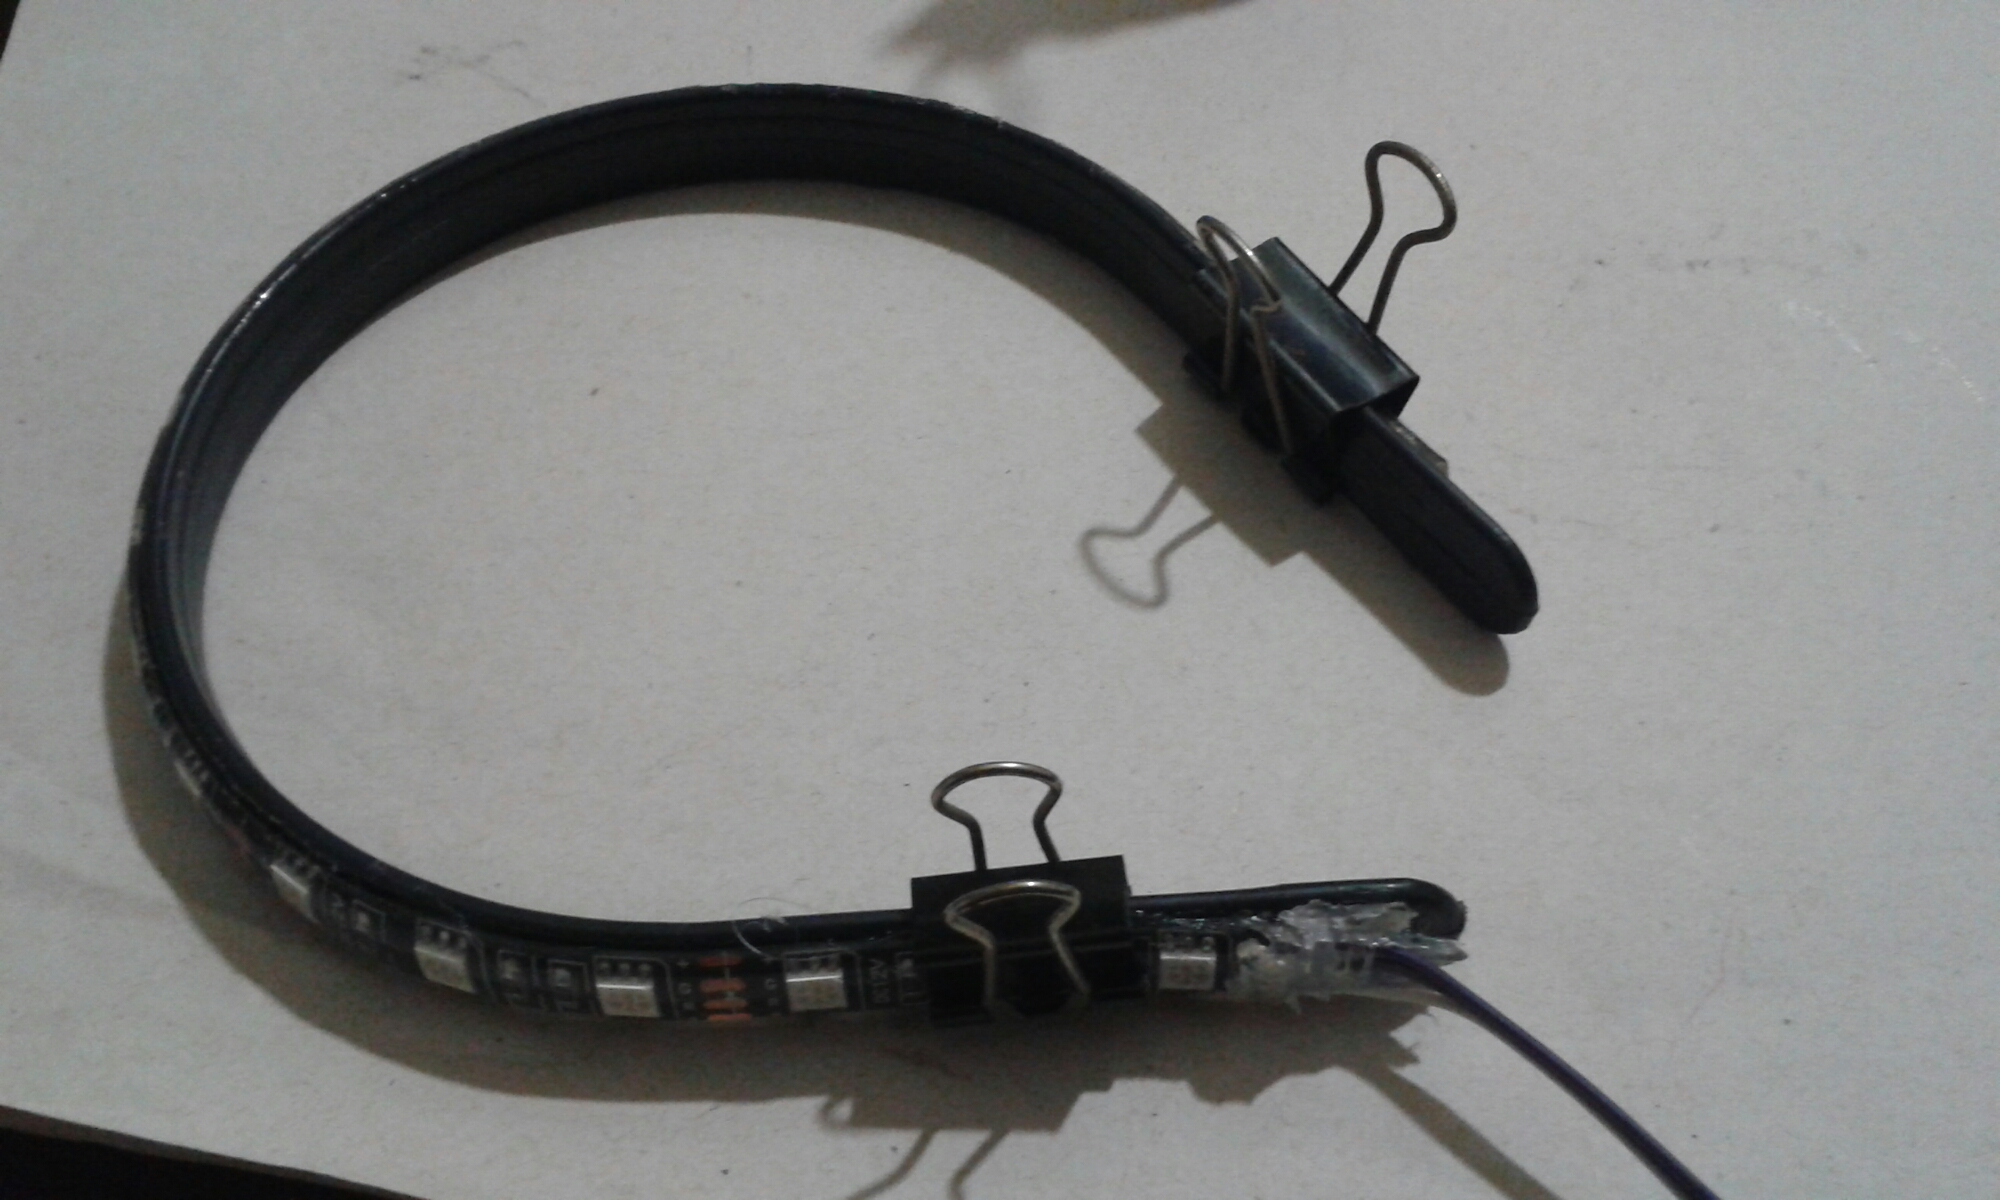
1 MEASURING: LED tape measure the size that best fits your tiara and cut remembering that the LED strips can be cut every three LEDs.
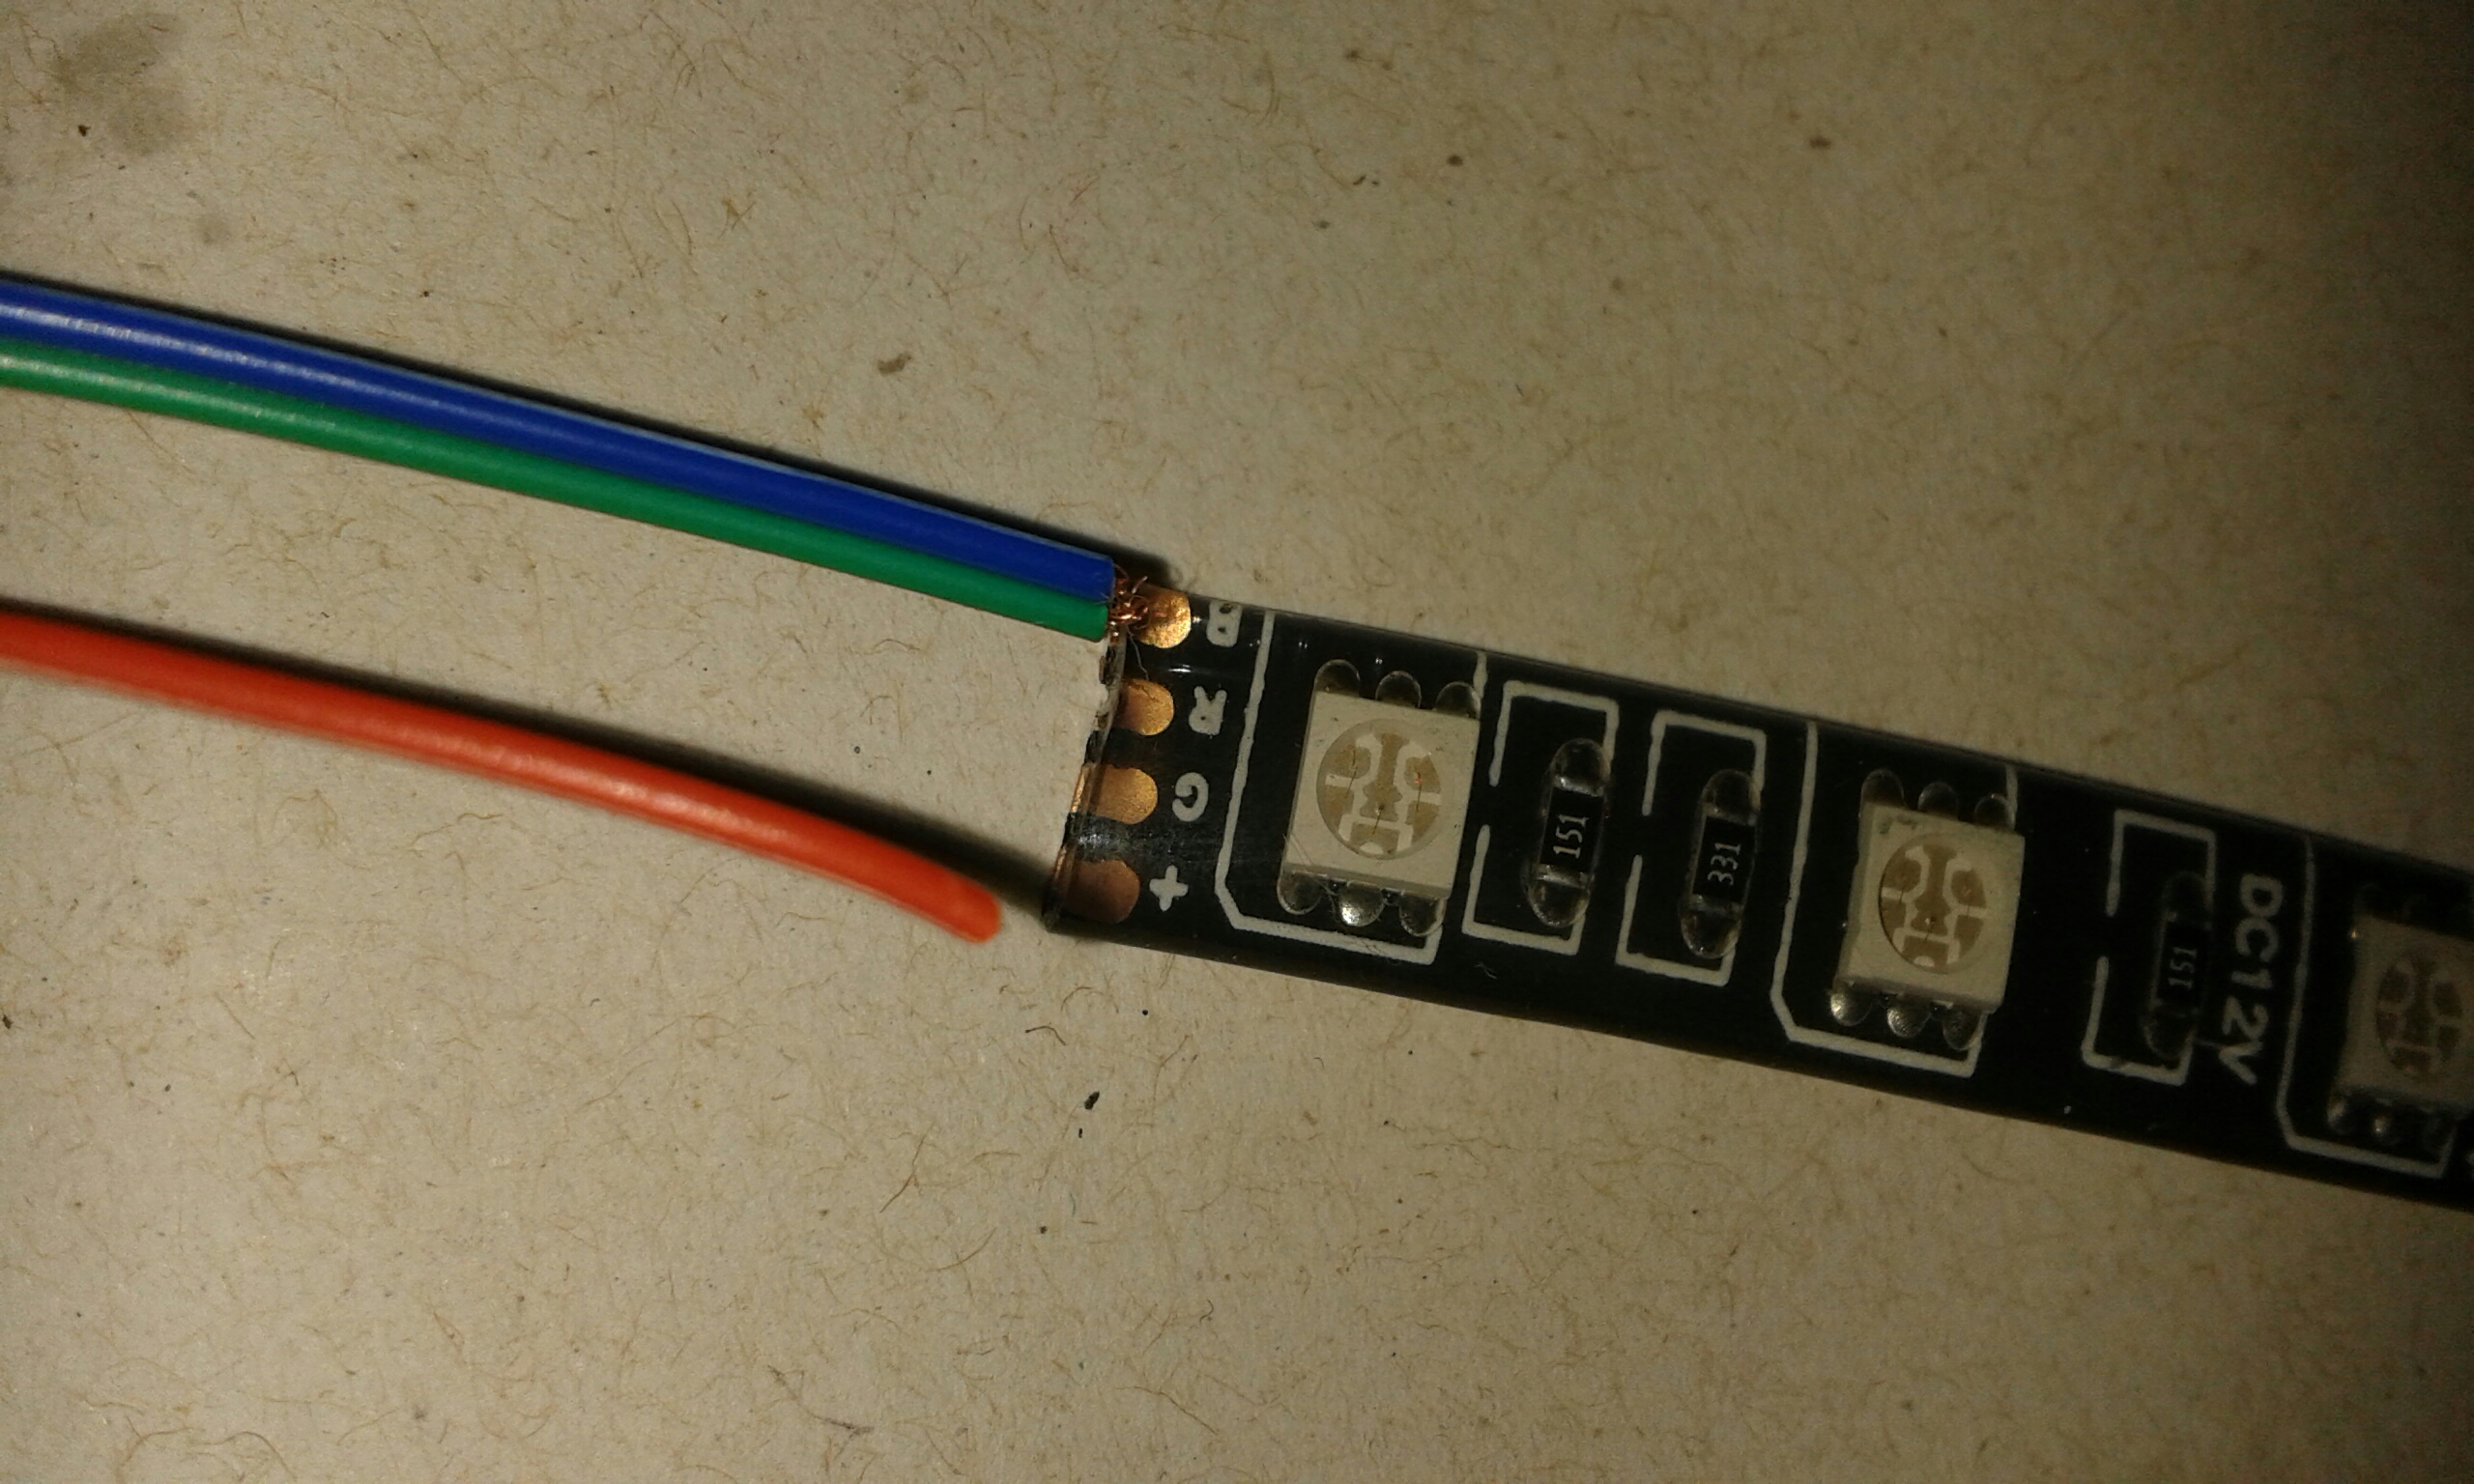
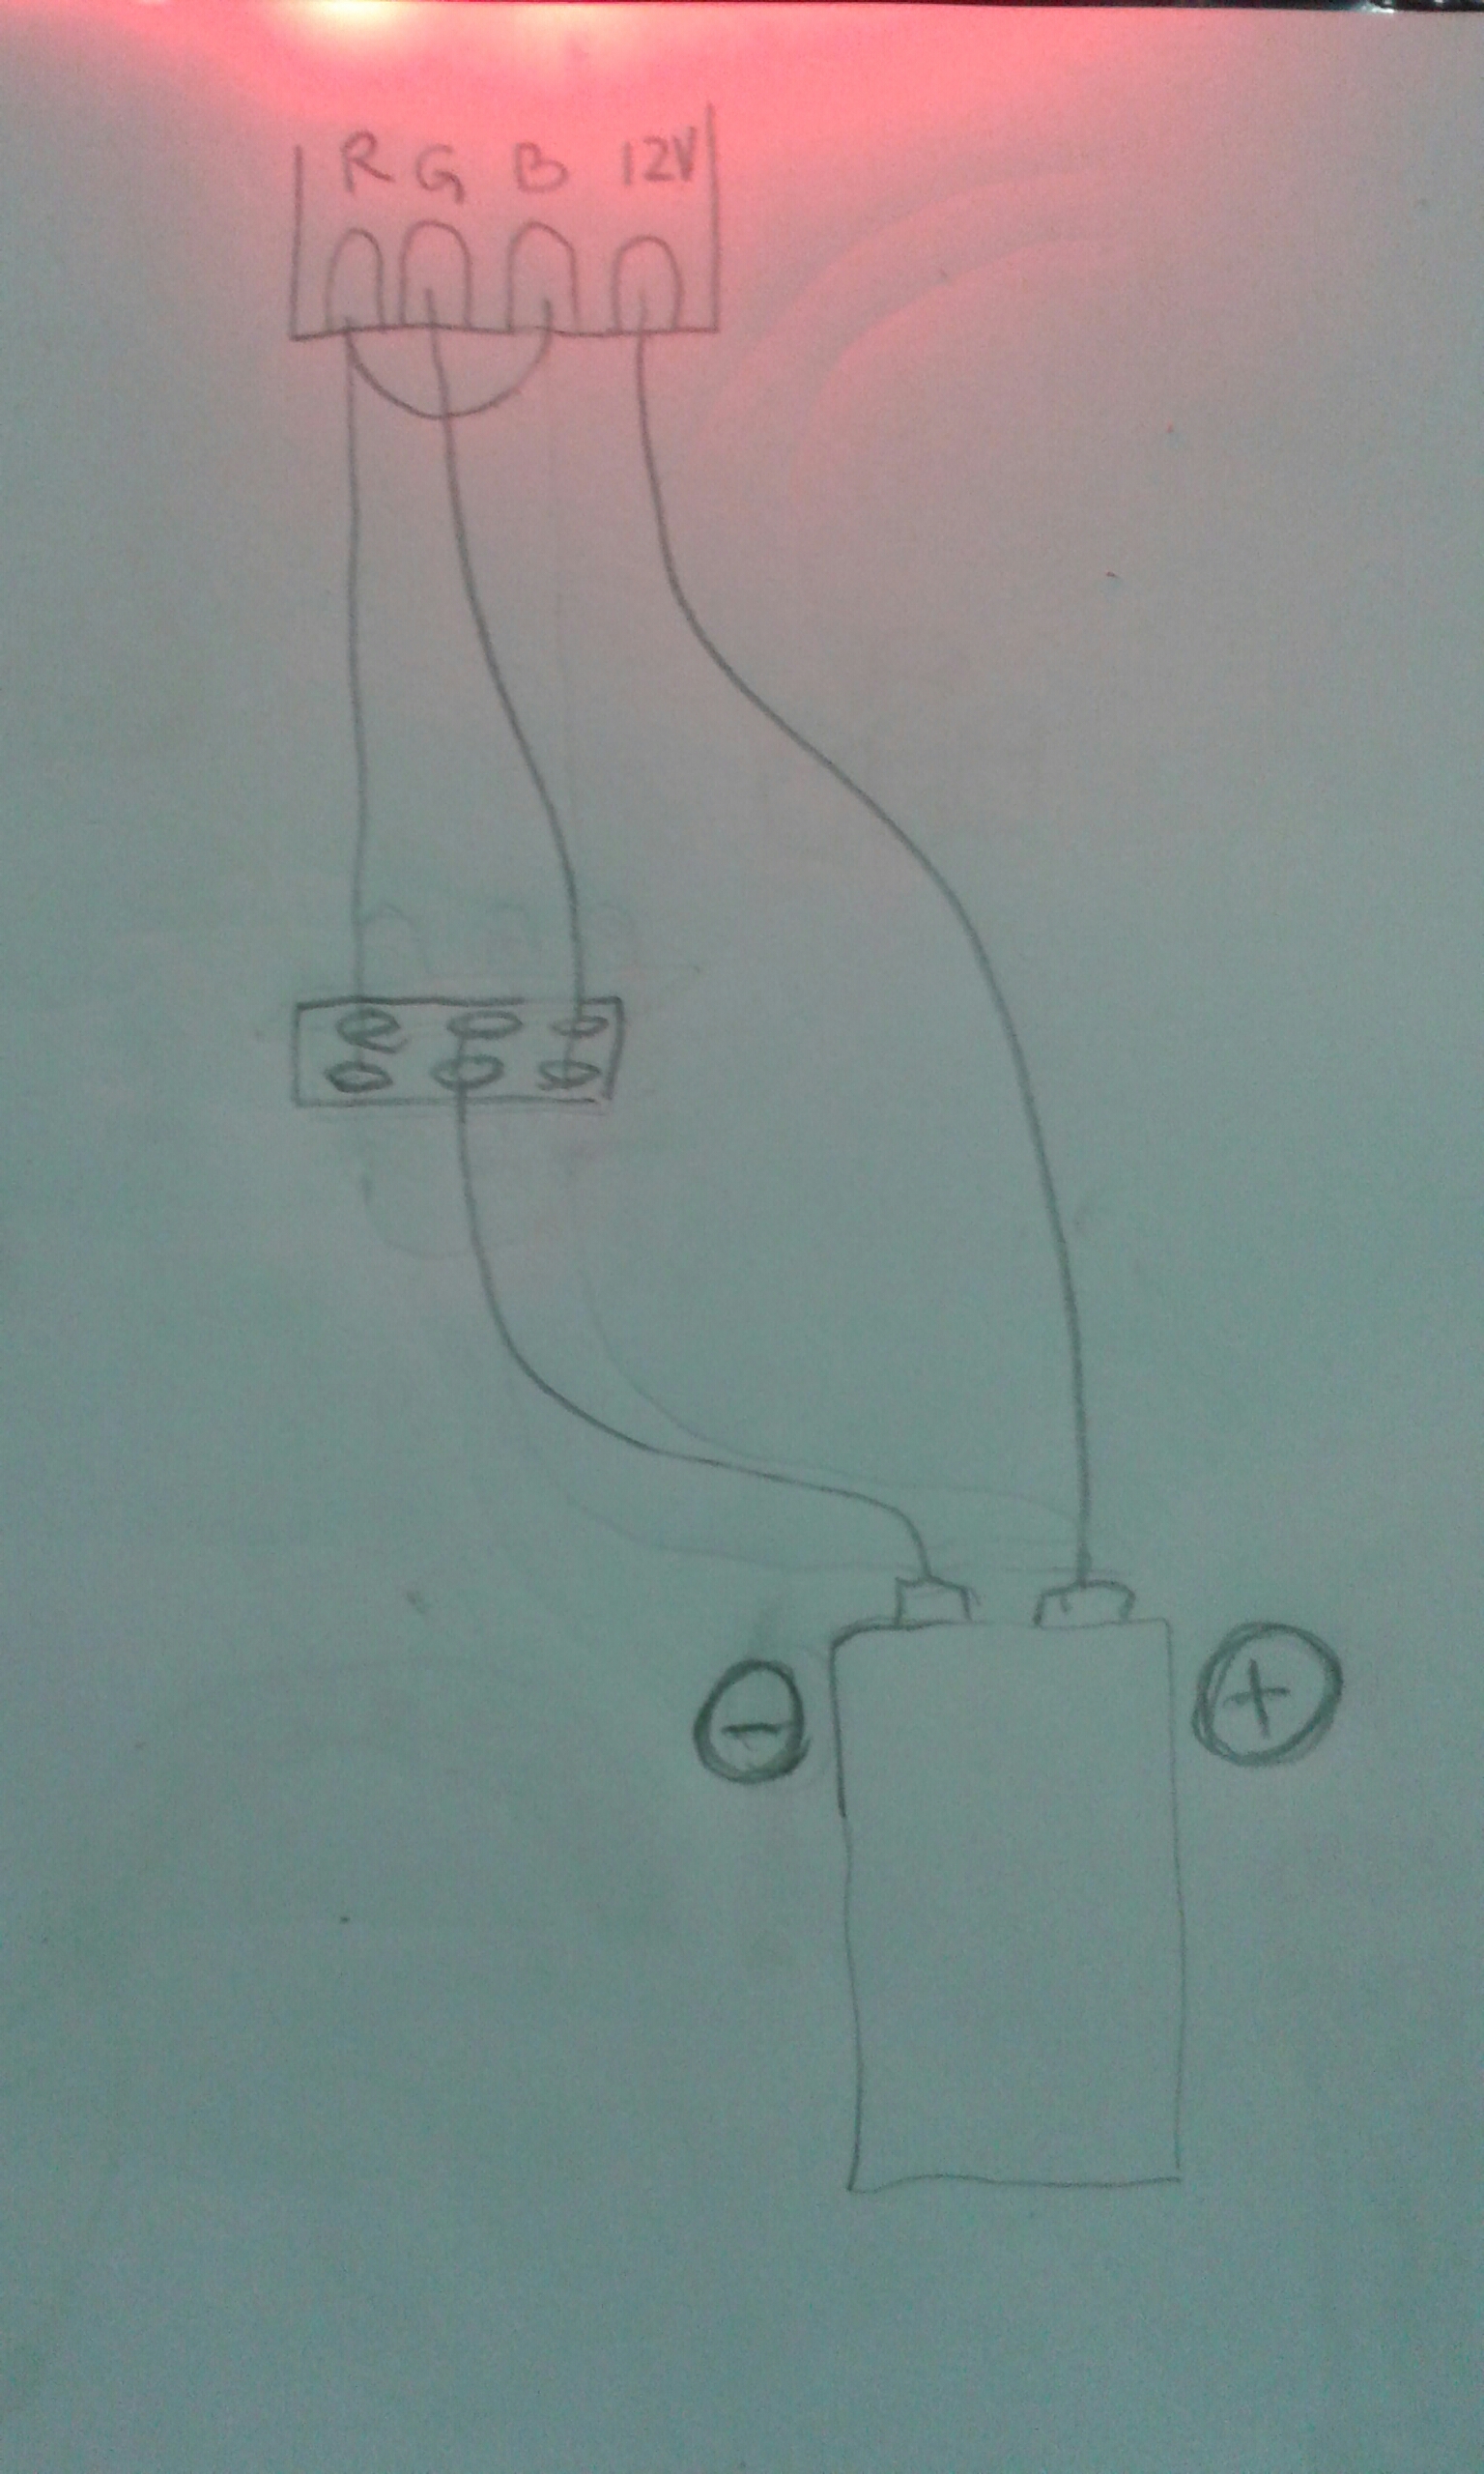
2 WELDING: Solder the terminal with the + sign, and choose two colors to red solder the terminal with the letter R, B to blue, to green G.
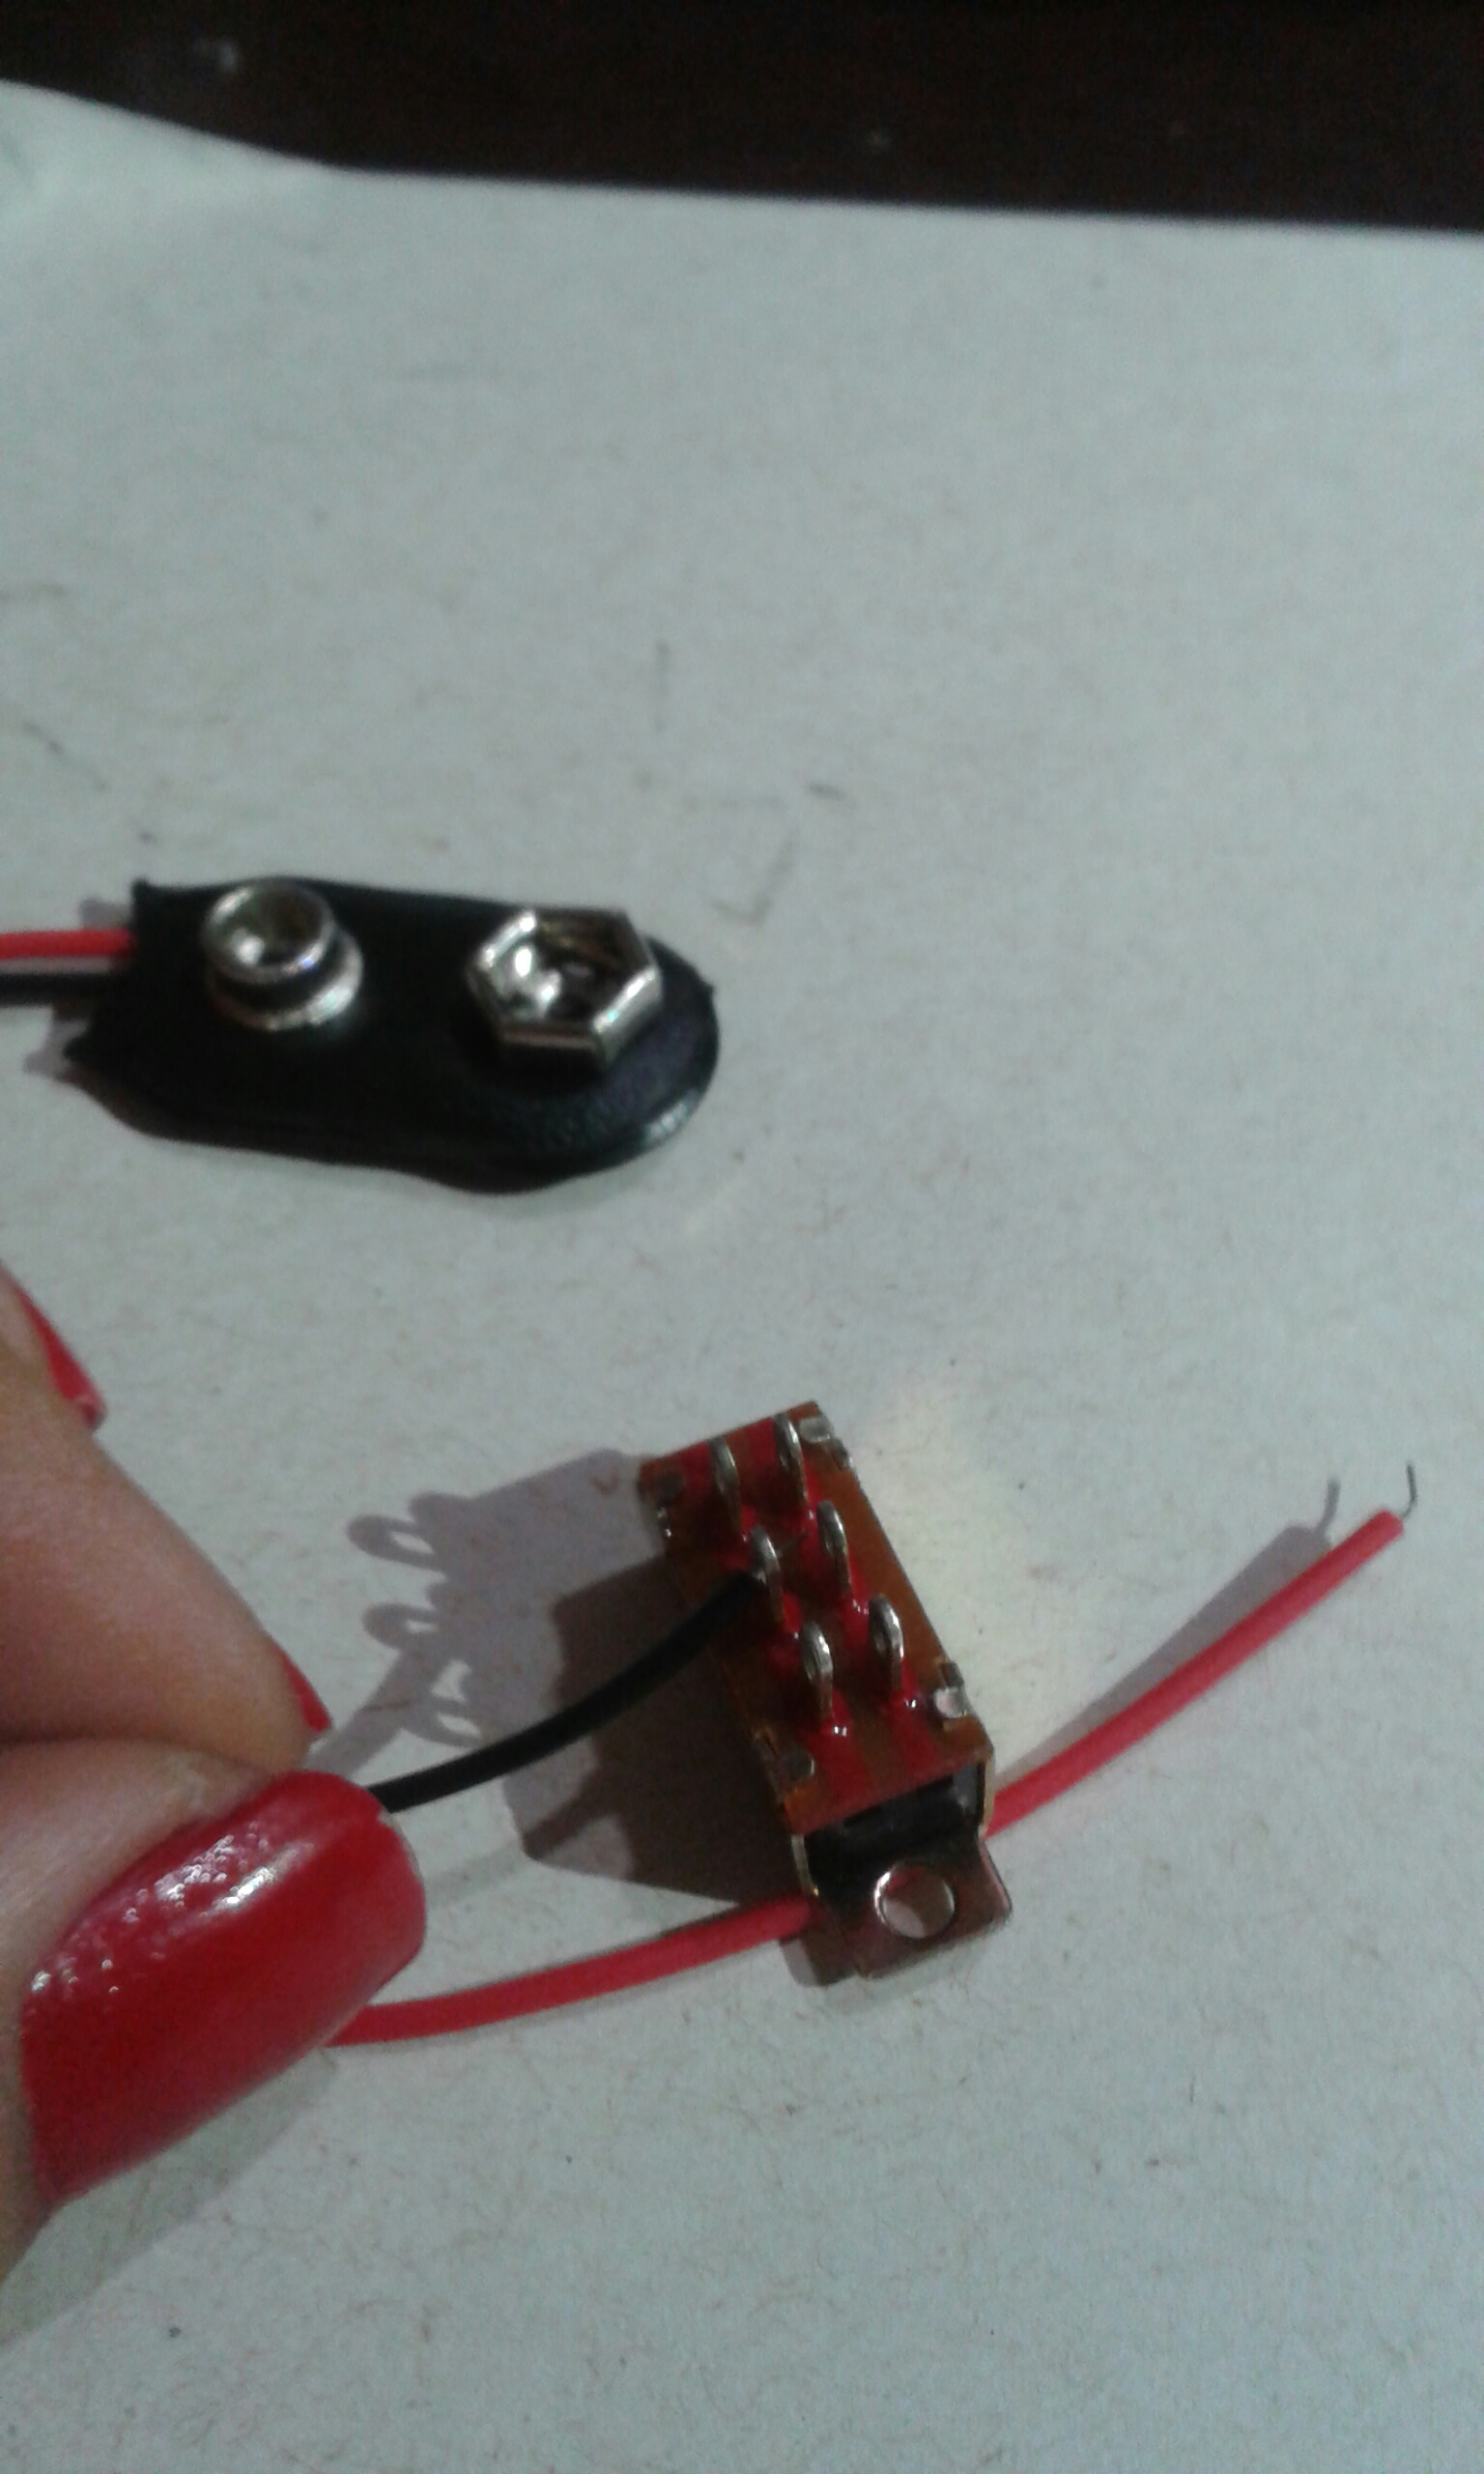
Welding the negative socket for battery terminal in the middle of the button and the positive wire in the terminal + LED tape
finish welding the colored terminals on the button
3 – STICKING: Apply the glue on the LED strip and paste the tiara.
4 – TESTING! With multimeter test the connections and see if there is a short circuit. If you do not have a multimeter plug the battery and not ascend first, run to disconnect .. lol and review what you did wrong!
Recalling that this project serves the button to change color, to drop off the socket battery.

 Brasil



Comments by fernanda